
Trampoline Assembly Tips in Nairobi Kenya
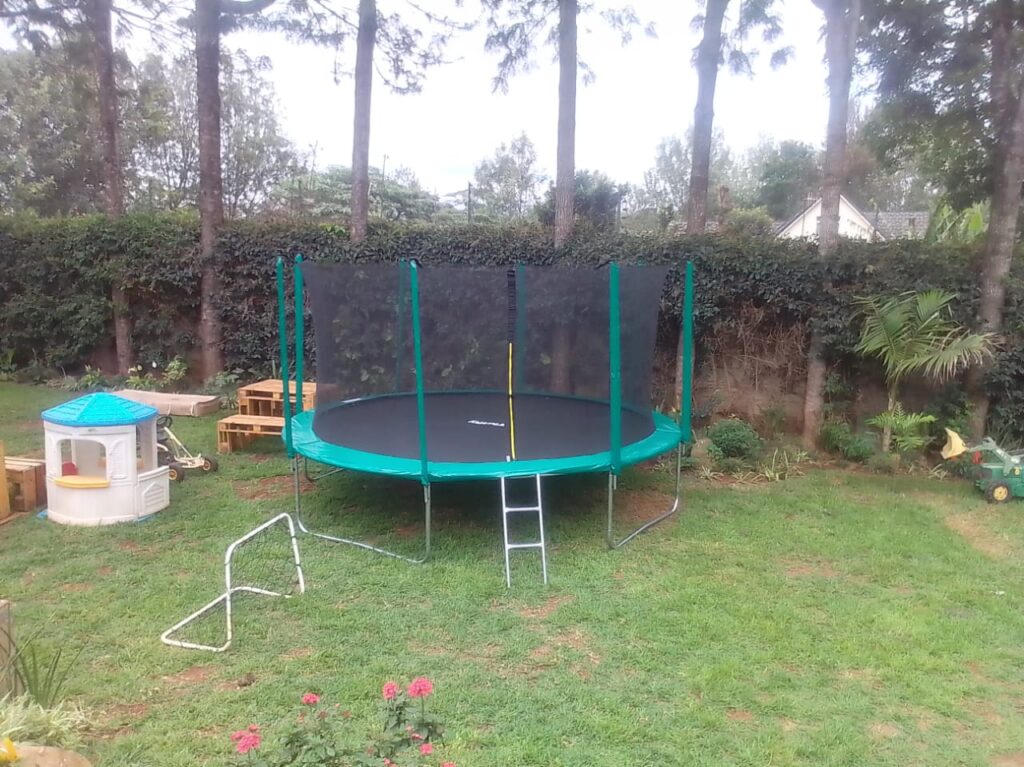
When assembling the Thrifty Premium trampoline enclosure, you need the best trampoline assembly tips in Nairobi Kenya. It’s important to follow extra steps because of the top rims. For those with young children using the trampoline, it’s best to use the Thrifty enclosure as it’s designed for added safety. The Thrifty trampoline enclosure appears more structured than the standard model because of the top rims. It’s important to note that assembling the enclosure requires two people. Whether undertaking trampoline repair in Nairobi or assembling a new trampoline anywhere in Kenya
Follow This Link To Buy Trampoline Parts in Nairobi Kenya
.Here’s how to assemble your Thrifty enclosure:
- Please ensure that you have all the required components. If you find anything missing, kindly reach out to Thrifty’s customer support within three days of noticing the discrepancy.
- Secure the bottom part poles with leg pieces using U-bolt clamps and tighten the bolts with a wrench. One clamp should be a few inches off the ground, and the second clamp should be just below the leg extension joint.
- Take the upper part of the poles and place them onto the secured bottom poles with the curved top facing inward. Once installed correctly, you should hear a clicking sound.
- Place the net on the outside of the mat, with the door positioned between two poles.
- To install the top rims, insert them into the sleeve above the door zipper. The length of the rim will determine which one should be used.
- Slot the top rims into the holes of the caps. Insert one metal rim first and the other after that. Once inside and overlapping, tighten the screws.
- Install the bolts into the front of the connectors and secure the rims in place with an Allen key. Make sure that both rims are overlapping each other when fully inserted so that the bolts go through the holes in the rims.
- To attach the caps to the trampoline enclosure poles, use the net to lift them up and gently push them onto the top of the poles. You will know the cap is attached when you hear a clicking sound.
- To properly secure the net, start by tying one of the straps to a v-ring located on the mat beneath the padding. Afterward, weave the strap through the remaining v-rings and the holes found on the bottom of the net.. Only use the necessary holes, and use the included needle for threading as the holes are small.
- When you reach the end of a strap, tie it to the v-ring.
Assembling the Thrifty Premium trampoline enclosure in Nairobi, Kenya, requires careful attention and adherence to specific steps, especially due to the unique top rims design. The safety of young users is enhanced by utilizing the Thrifty enclosure, which offers a more structured and secure setup compared to standard models. Notably, the assembly process necessitates the collaboration of two individuals, emphasizing the importance of teamwork.
Your Thrifty enclosure is now ready for use!
Follow This Link To Buy Trampoline Parts in Nairobi Kenya
Get in Touch
Call +254 722724893
Email info@frugalinnovations.co.ke
Facebook: https://www.facebook.com/frugalinnovationskenya


- Why Nairobi Kids Are Obsessed with Trampolines: A Look at Urban Childhood in 2025
- Integrating Trampolines into the Kenyan School Curriculum
- Can Trampolines Help with Weight Loss? A Real Look at the Science
- Trampoline vs Sensory Play Mats: What’s Better for Children with Autism?
- Where to Find the Best Trampoline for Sale in Nairobi