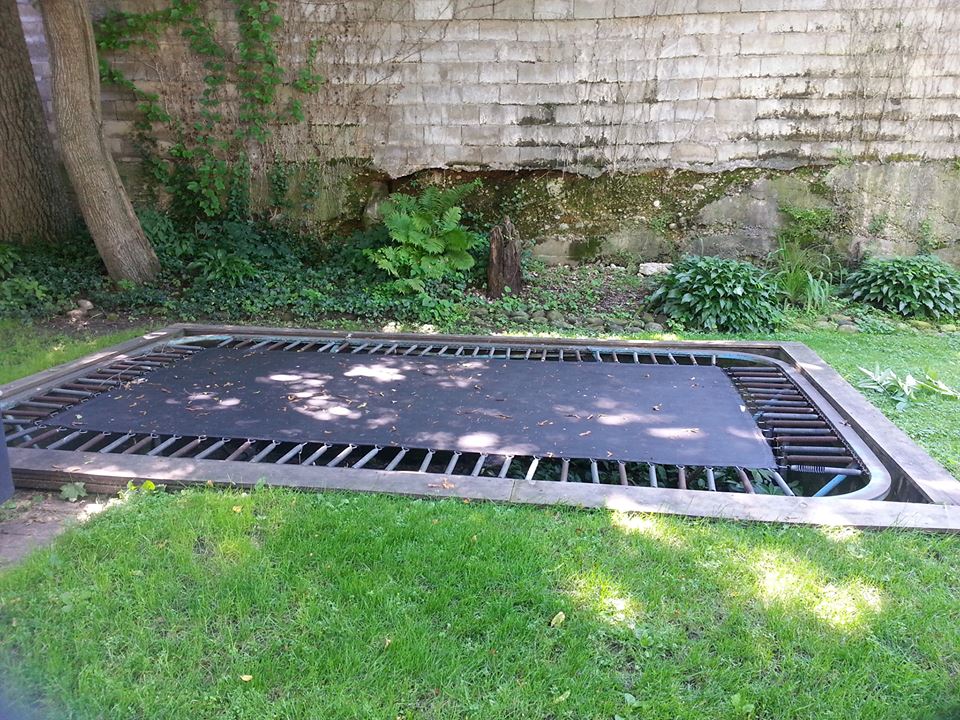
Fixing Trampoline Mat holes by Yourself

Owning a trampoline in your backyard is an excellent way to enjoy some indoor exercise and have fun. Nevertheless, with frequent use, wear and tear problems can arise, especially on the trampoline’s springs, mat, and legs. Among these issues, mat holes are the most common type of damage, and depending on their severity, repairs may be necessary. This article will provide 2 methods for fixing trampoline mat holes in your trampoline mat.
Contact Us
With proper maintenance, hiring professional trampoline maintenance specialists is unnecessary. Typically, a trampoline can last 5-10 years with moderate use before the mat requires replacement.
Nevertheless, premature mat damage can occur due to factors such as
- age
- extended sun exposure
- debris like gravel or sand accumulating on the mat while in use
The presence of holes is the primary indicator of wear on a trampoline mat. When assessing whether to repair or replace the mat, the size of the hole is a crucial factor to consider
To determine whether to repair or replace your trampoline mat, follow these guidelines:
First, examine the mat’s overall condition before focusing on the hole. If the mat appears worn, sun-damaged, or has been used for more than a decade, it may be best to replace it completely rather than attempt a repair.
If the hole exceeds 3 inches in size, it may also be better to replace the mat entirely. Repairing holes larger than this can be a challenging task.
Using duct tape may suffice as a temporary fix for smaller holes that measure less than 1/2 inch and are not frayed at the edges. Monitor the hole over time to ensure it remains secure.
For holes between 1/2 and 3 inches wide, it is advisable to attempt a repair using one of the methods listed below.
Once you have determined that the hole in your trampoline mat is between 1/2 and 3 inches, you can fix it yourself. Fortunately, there are several options available for repairing your trampoline mat at home, including
- using adhesive patches,
- sew-on replacement patches
- a sewing machine.
Adhesive Patches for Trampoline Repair
Adhesive patches are one of the easiest solutions for fixing smaller holes in a trampoline. You can find various adhesive patch kits online that provide an easy and quick way to repair your trampoline. These kits usually include round-shaped patch sheets and a step-by-step guide to follow. Here’s how to use them:
- Clean and dry the area of the mat surrounding the hole
- Remove the protective layer from the patch and apply glue if needed
- Press the patch firmly onto the mat
- Wait approximately 24 hours for the glue to cure before using the trampoline again
However, if you dwell in a colder climate, you may face difficulties with adhesives since the glue usually requires temperatures above 50 degrees Fahrenheit to cure correctly.
Sew-On Replacement Patches
Sewing a patch onto the hole in the trampoline mat is a slightly more involved but effective repair method. You can easily find replacement patches made of UV-resistant material, heavy-duty thread, and needle-in repair kits available online.
To repair the hole using this method, follow these steps:
- Cut out a circular patch from the replacement canvas that is at least 2 inches larger in diameter than the hole.
- Place the patch over the hole and secure it in place with pins or clips.
- Thread the needle with the heavy-duty thread in the kit, and begin sewing the patch directly onto the mat. The kit should come with instructions on how to sew the patch properly.
TIP:
Enlist a partner to help you tighten the mat while you sew, as this will ensure a smooth and secure repair.
With a little patience and teamwork, you can successfully repair your trampoline mat using this method.
- Integrating Trampolines into the Kenyan School Curriculum
- Can Trampolines Help with Weight Loss? A Real Look at the Science
- Trampoline vs Sensory Play Mats: What’s Better for Children with Autism?
- Where to Find the Best Trampoline for Sale in Nairobi
- Trampolines at Weddings? How Kenyan Event Planners Are Thinking Outside the Box


