Disassembling a Trampoline in Kenya

Kenyan Trampolines are gaining popularity across the Kenyan cities of Kisumu, Mombasa Nakuru, and Nairobi. More and more parents prefer to get a trampoline as a gift for their children given the health benefits associated with trampolining in East Africa. However, to be a happy trampoline owner, it is essential to master ways of disassembling a trampoline. The maintenance of these trampolines has become a significant requirement.
Call us at 0722724893 for all your trampoline repairs and purchase of trampoline accessories & service parts in Nairobi Kenya,
In the case of harsh weather conditions, it is important to learn how to disassemble a trampoline so as to increase its life span in Kenya. It is also important to learn how to disassemble and reinstall it in case you need to move it to different locations.
Below we provide a step-by-step procedure on how to easily disassemble your trampoline in Kenya:
Step 1: Preparation and Tools
Before you start the process of disassembling your Nairobi trampoline, ensure that you have first cleaned it and you have the boxes for storage.
You also need to crosscheck that you have all the tools needed for the disassembly.
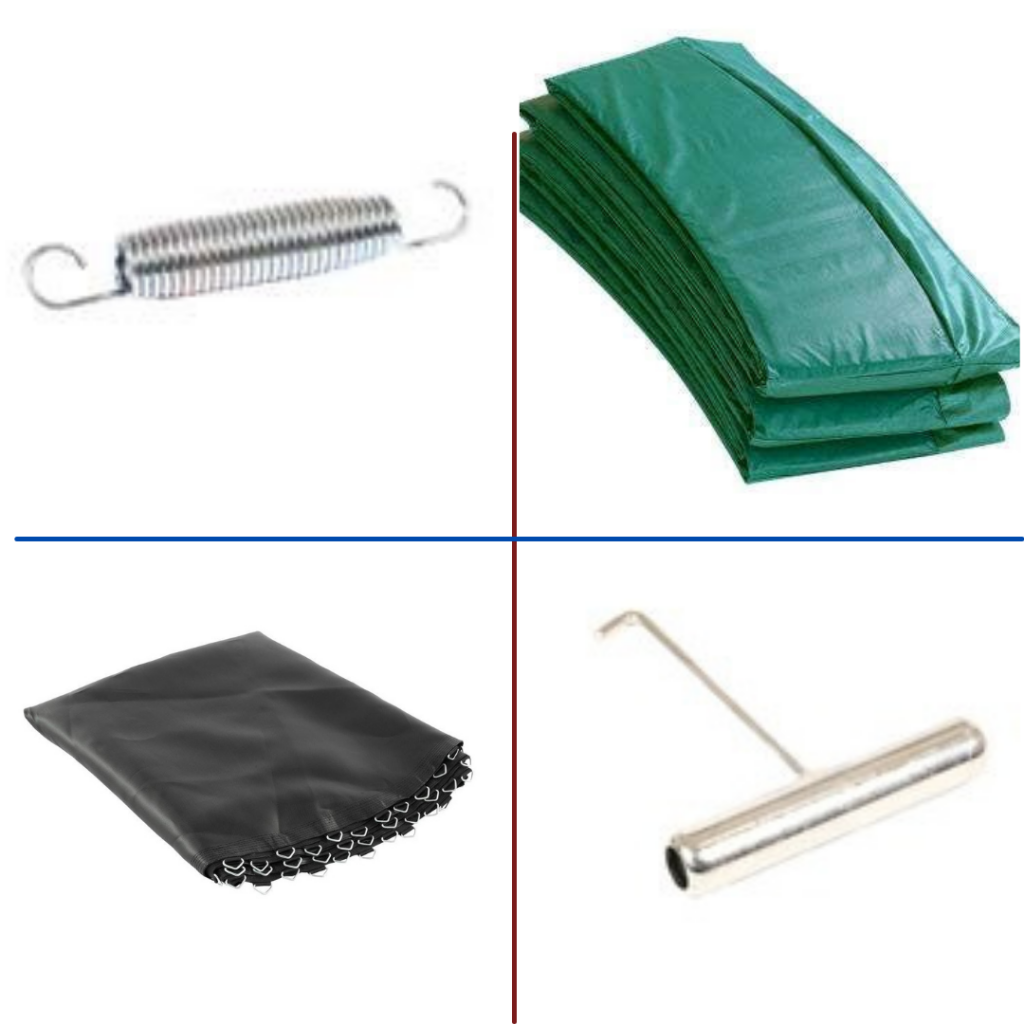
The main tool needed for disassembly is a Kenyan trampoline spring puller. This makes it easy to pull springs from the trampoline. You can also use caulking guns, pliers and screw drivers as alternatives.
The other tool is a screw driver and it’s alternative a power drill.
Step 2: Removing the trampoline accessories (Ladder, Safety Net etc.)
First, you start by taking out the ladder then go to detaching the net.
If your Kenyan trampoline has pole caps, go ahead and remove the caps first then detach all the poles from the safety net. At this stage, you can untie the basketball hoop if you have one.
Don’t forget to clean if there is any rust or debris before storing.
Step 3: Take apart the safety cover.
This can be done before the net disassembly.
Untie all the knots beneath the trampoline cover pad then fold it and put in a box.
PS: A key could help untie stubborn knots.
Step 4: Disassembling the Springs
This could be the most tedious part of the process however well kept springs and this technique we are about to give you can make it easier. In the case of rusted springs, get some hand gloves for safety.
Now, take your spring tool and choose any spring that you want to remove first. Then pull the spring hook at the mat end towards the trampoline center.
The spring will be extended, so loosen it from the V-ring of the mat. At the same time, take apart the other spring hook from the frame.
Repeat the same process for the rest of the springs. If the spring puller doesn’t work for you, you can use the alternatives as stated earlier.
Step 5: Folding the Trampoline Mat
After spring removal, the trampoline is just a frame. Place the jumping mat on the ground, fold it in half then the half in half again until it can fit in a box.
Step 6: Dismantling the Frame
The job here is mainly unscrewing.
After unscrewing is complete, detach the legs from the main frame. Be careful not to hurt yourself during this process as the frames are rather heavy. To avoid injury, you can stand in the middle of the leg and exert upward pressure on the outer ring to detach the legs.
When all the legs are detached, the outer ring left to be disassembled. Now, dismantle the outer ring from the T-joints. You can do it by twisting the rings. Finally, you are capable of detaching the outer rings and T-joints. After that, store the outer rings, legs, and T-sections in the trampoline storage box.
You have successfully disassembled your Nairobi trampoline!
In case of trampoline disassembling services in Kenya, Frugal Innovations can offer at a subsidized rate. Just call 0722724893 for any enquiries.
- Can Trampolines Help with Weight Loss? A Real Look at the Science
- Trampoline vs Sensory Play Mats: What’s Better for Children with Autism?
- Where to Find the Best Trampoline for Sale in Nairobi
- Trampolines at Weddings? How Kenyan Event Planners Are Thinking Outside the Box
- How Trampolining in Nairobi Encourages Cross-Generational Involvement


